Plate Materials & Sizes
Written by guest contributor Subluxe.
Unlike other major components of a mechanical keyboard, plates are not found in every keyboard but are the most unique in terms of materials and design. Plates play a huge role in the feeling of a keyboard, based on the material used as well as the thickness and design of the plate.
In this course, we’ll cover the role of the plate and the factors to consider when looking at a keyboard kit or plate option.

Syllabus
Why use a plate?
Plate Materials
Thickness
Design
Overview of the Plate
Besides keeping the switches aligned, one of the primary purposes of the plate is to alleviate stress from the PCB and provide a more consistent and firm typing feel. In plateless builds, the stress of bottoming-out is directly on the PCB, and without the reinforcement of a plate, it allows for a more bouncy and flexible typing experience. The addition of a plate creates a more rigid feel and also affects the sound signature depending on the material of the plate.
Exploded view of the SP-111, showing the layers of a keyboard: the top case, brass plate, PCB, and bottom case. This uses a sandwich mount, where the edges of the plate are visible along the edges of the keyboard.
Why Use a Plate?
Although not required for certain mounting styles, the plate is in the overwhelming majority of mechanical keyboard builds. Using a plate ensures that the switches in a keyboard are properly aligned, and also helps alleviate the stress on the PCB when typing or playing PC games.
Plates can also introduce a different typing feel, and varies depending on what material is used. Thickness and material density can either add a great deal of flexibility or stiffness to the typing experience.
Lastly, plate materials greatly impact the sound profile of the board and the combination with switch choices great many opportunities to tailor typing sounds. Plates made with more dense materials such as brass or stainless steel create higher pitched sounds, whereas less dense material such as FR4 are lower in pitch.
Plate Materials
Plates come in all sizes and layouts, but most importantly they can be made with an expansive range of materials. Early custom keyboards such as the DK Saver, OTD 356L, and Duck Orion v1 only offered materials such as polycarbonate, aluminum, and steel but as of recent, we have seen a major growth in types of materials used. As time went on other materials such as brass, carbon fiber, FR4, and POM were introduced to custom keyboards and have become increasingly popular in new interest checks. Dense materials, such as stainless steel and brass create higher pitched sounds and are very rigid, offering little to no flexibility.
Less dense materials, such as carbon fiber, FR4, POM, and polycarbonate do not resonate, produce a lower pitched sound, and offer more flexibility, allowing for a less harsh bottom out.
Aluminum is often considered the middle ground, providing a touch of flexibility, while maintaining a slightly higher pitched, and more prominent bottom out sound.

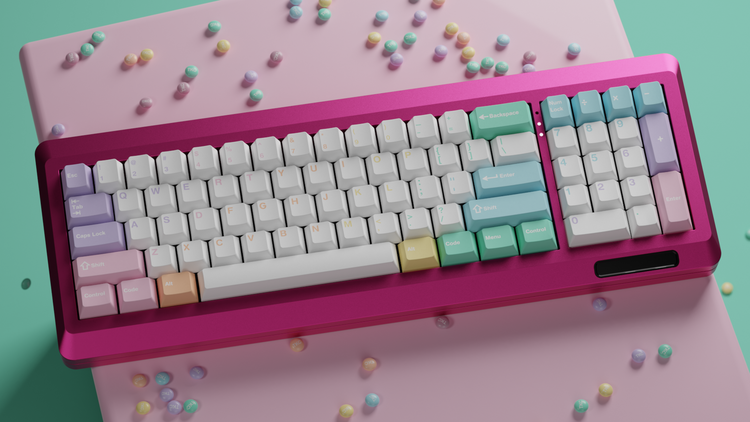
The Candybar Premium keyboard offers three options for plate materials: aluminum (pictured here in four colors), carbon fiber, and polycarbonate.
Thickness
With the exception of acrylic and POM (1.6mm), almost all plate materials are generally made at a thickness of 1.5mm. Acrylic plates are generally made at the maximum tolerance for MX style switches (5mm) to combat the fragility of the material, however 5mm plates have also started to appear in other common plate materials. The Zephyr, by ZealPC is an excellent example of this, featuring a 5mm brass plate.
Because these plates are much thicker, switches do not clip to the plate like their 1.5mm counterparts, but hold to the whole bottom portion of the switch instead. This concept, as well as the added material allow for a much more uniform bottom-out noise, eliminating the reverb typically found in thinner plates.
Plate Design
Flex Cuts
Besides the cutouts for switches, some custom keyboards may have additional cuts to the plate. Normally, these cuts are usually found around the function row and number row, separating the alpha cluster from the rest. By adding additional cuts, we reduce the material in the plate, giving it added flexibility as well as a more reverb-y bottom out sound, while also creating a more consistent typing feel across the keyboard. The typing feel however is also dependent on the mounting method and the case design itself.

Keycult’s No.2 plate features extensive flex cuts for a uniform typing feel and minimal contact with the keyboard case.
Additional cuts may also be placed around larger keys such as enter or shift. These cuts are called acoustic cuts and are meant to give a more consistent sounding bottom out.
Layouts
Plates can also be designed in different layouts to accommodate accordingly. Some of the most common layouts in the mechanical keyboard community are ANSI, ISO, WKL, Tsangan and HHKB, and these layout options are limited by the PCB and plate compatibility. Some plates are also designed to be universal, allowing the user to select their layout of choice, and others are restricted to fit a single layout.
Half Plates
Many custom keyboards use mounting methods that involve the plate (i.e. top mount) and this often results in a plate being necessary to the build. To those that prefer a less stiff typing experience, half plates eliminate the section that alphas would normally clip in to, to allow for flexibility around the alpha cluster. The removal of the alpha cluster on the plate means that the alphas will not create any reverberation through the plate, allowing for a much quieter bottom out.

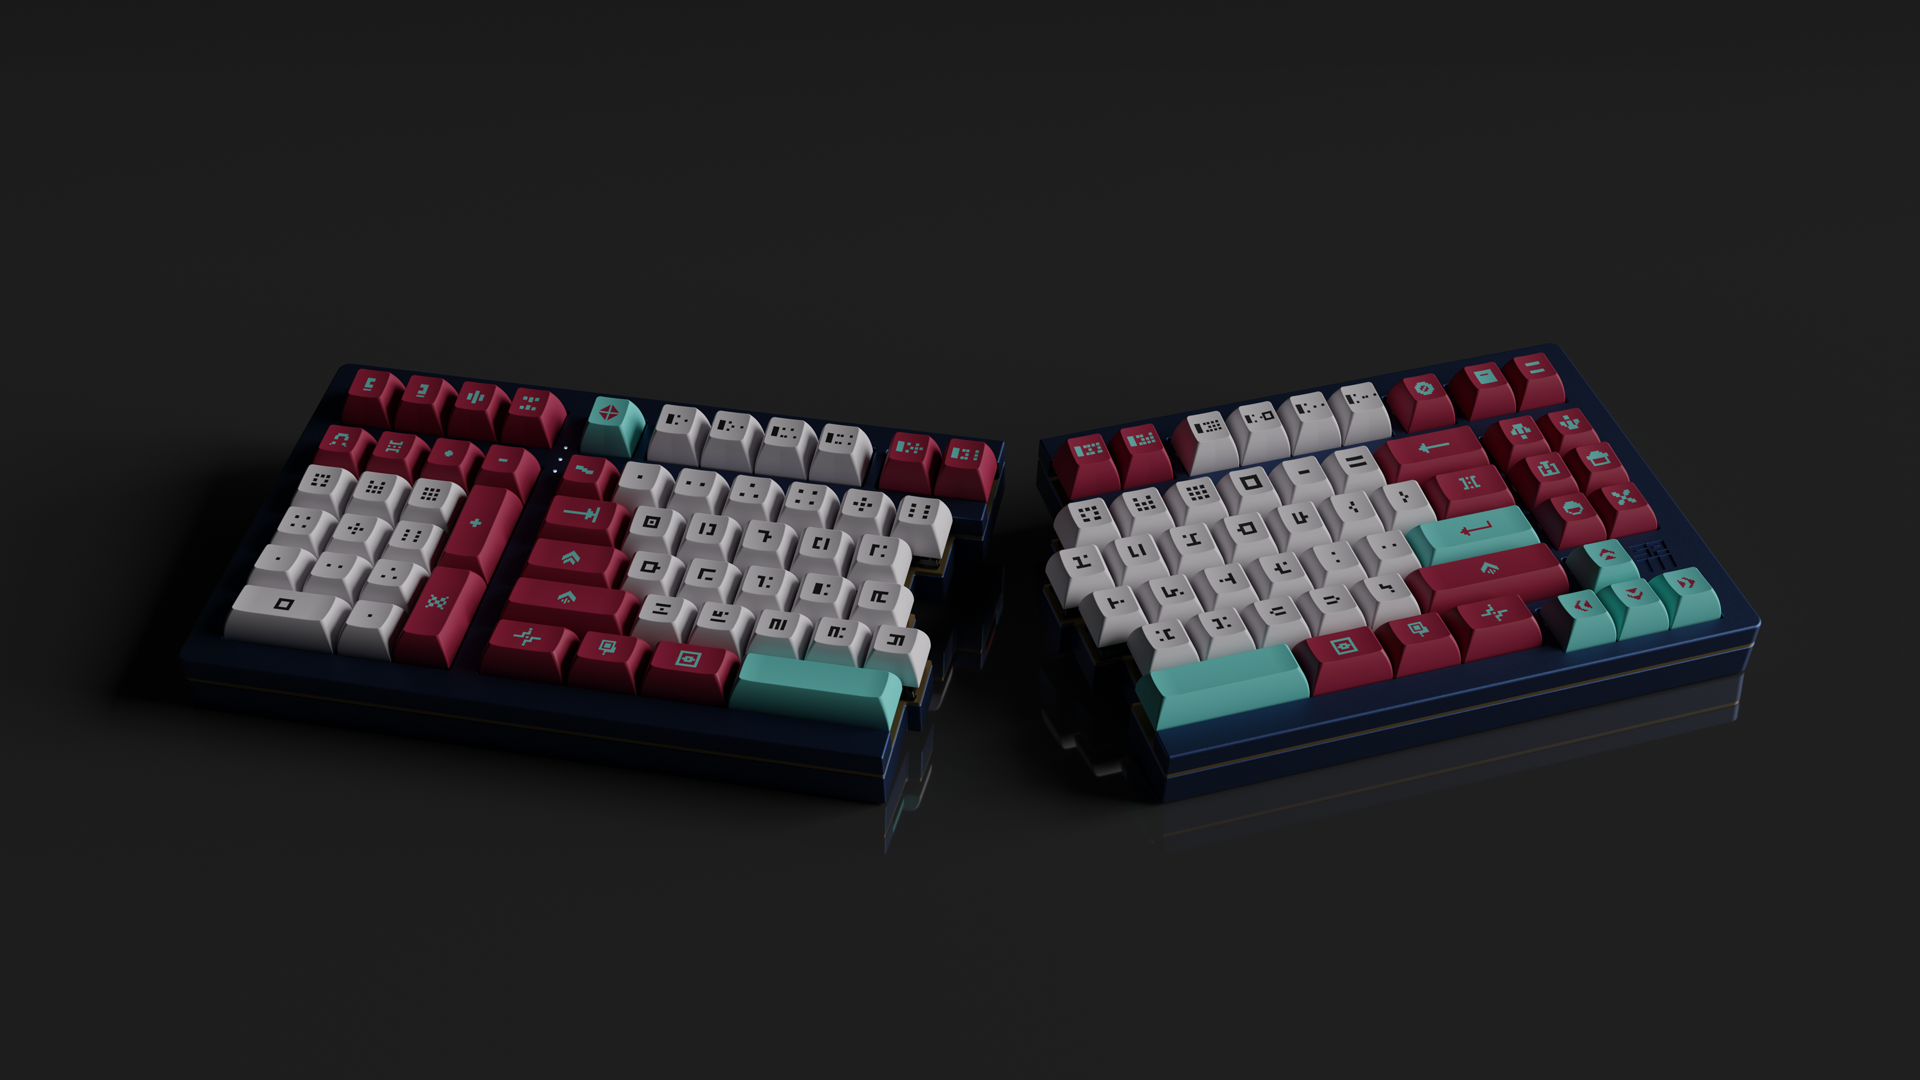
The Polaris by ai03 and Kevinplus features a variety of plate formats and materials, including the polycarbonate half-plate and brass full pictured above.
Now, you’re equipped with the knowledge of making a better decision when it comes to your next keyboard build. With the constant innovation going on the hobby, plate production adds another level of customization alongside mounting styles, formats, switch choice, modifications, and more.
A big thank you to Subluxe for providing this introduction to mechanical keyboard plates!
Justin "Subluxe" is an active member of the Vancouver Mechanical Keyboard community and one of the co-organizers of the Vancouver Mech Meetup. He offers many keyboard related services, including builds, repairs, switch lubing, and hotswap installation. For previous examples of his work, be sure to check out his website!
Website: https://subluxe.ca
Twitter: @SubluxeMK